Message Queuing Telemetry Transport (MQTT) is a light weight message exchange protocol. This protocol has emerged as efficient way of telemetry data transmission/reception for IoT devices. Common programming languages have MQTT libraries available to implement this protocol. Apart from IoT you can think of using MQTT in other areas as well. For eg facebook uses MQTT for their chat services.
MQTT model consists of following elements
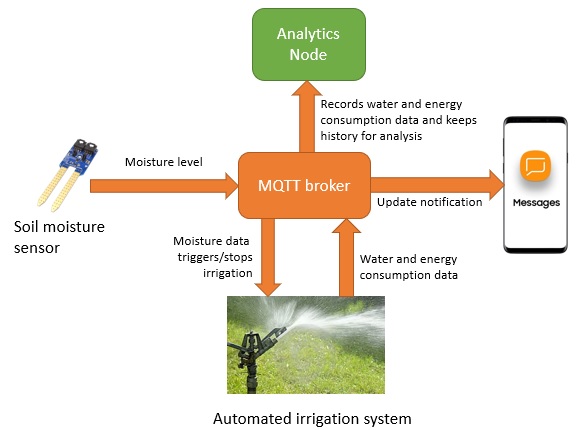
1) MQTT broker, this acts as central unit to receive and transmit messages between devices. You can build broker on a low end machine. I have build my broker on raspberry pi 3B.
2) MQTT publisher, a IoT device publishes telemetry data (such as data from temp, humidity, proximity sensors or anything else) to MQTT network. Data is published for a subject, such as “temp/outside/home/gurgaon”. This information is received by broker and subscribers connected to MQTT broker who are listening to a given subject will receive data from publisher.
3) MQTT subscriber, a IoT device which subscribes to subjects such as “temp/outside/home/gurgaon” and receive data from publishers via MQTT broker.
4) Subject, this is logical entity in MQTT protocol which defines location, purpose, function of a “piece of information” floating on MQTT network.
Remember depending upon application an IoT device can act as publisher and subscriber.
Combined together MQTT broker, publisher, subscriber and subject create a comprehensive model of IoT.
Following example gives idea of how this works
Installing and configuring MQTT broker and client on raspbian/debian Linux
aptitude install mosquitto mosquitto-clients
Default configs go in /etc/mosquitto/ directory. Default configuration does not have any authentication. To enable authentication create a password file with a initial user
cd /etc/mosquitto
root@iotbox:/etc/mosquitto# mosquitto_passwd -c mqttusers iotuser
Password:
Reenter password:
root@iotbox:/etc/mosquitto# cat mqttusers
iotuser:$6$a88TatbdpK3gQchP$CVhb5O8GgA2UteOpEfJlNwYZaUBfUFsIfw4mvfSdLzBZtyz3hrN9phvQ18zotorMqvZQpFqy/p5CQ/AgKhuGCw==
Edit /etc/mosquitto/mosquitto.conf and add following to config
password_file /etc/mosquitto/mqttusers
allow_anonymous false
Restart mosquitto
root@iotbox:/home/manish# /etc/init.d/mosquitto restart
[ ok ] Restarting mosquitto (via systemctl): mosquitto.service.
root@iotbox:/home/manish#
Now, let us try publish and subcribe functions.
Start two terminals or ssh session on MQTT broker host.
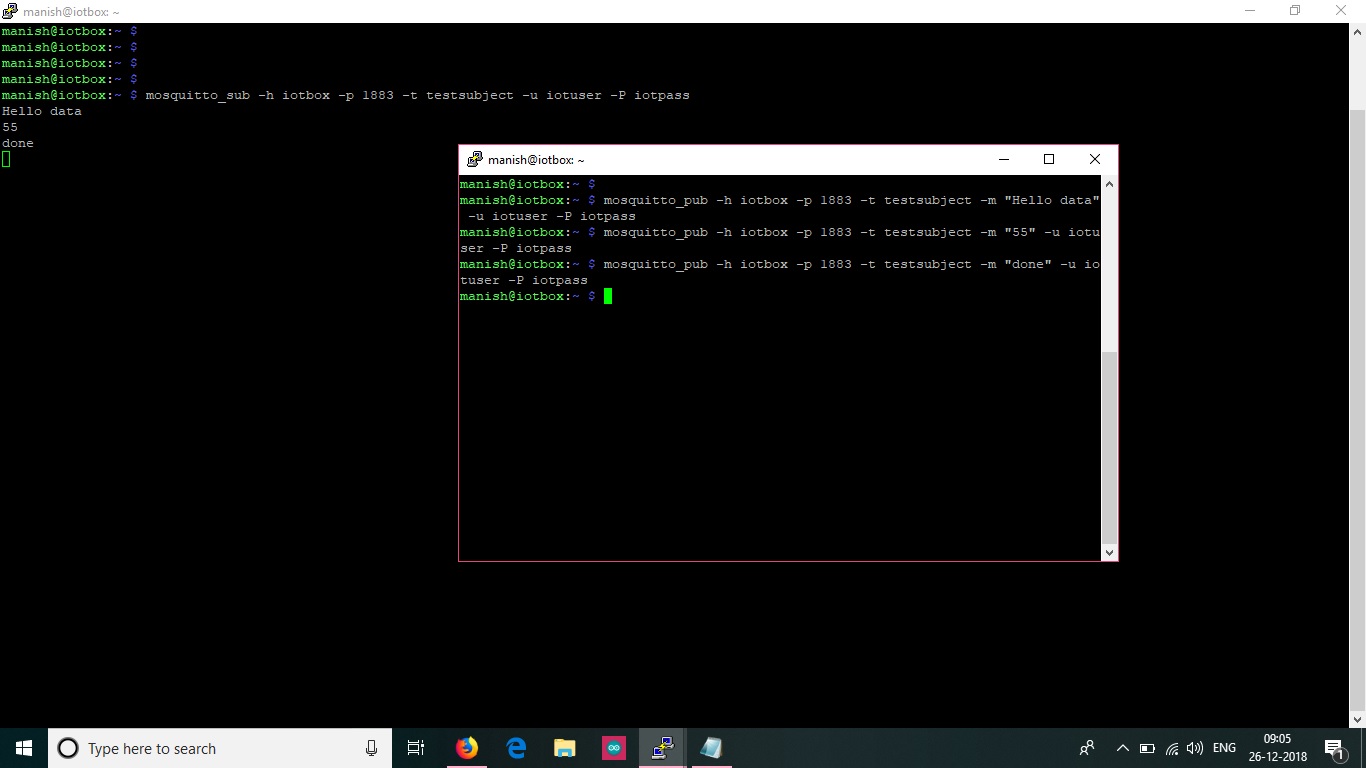
On one session listen to broker on a given subject “testsubject”
mosquitto_sub -h iotbox -p 1883 -t testsubject -u iotuser -P iotpass
This goes in wait state to receive messages from broker running on “iotbox” host subscribing to subject “testsubject” after authenticating as iotuser to broker.
On second session try to publish some data to subject “testsubject”
mosquitto_pub -h iotbox -p 1883 -t testsubject -m “Hello data” -u iotuser -P iotpass
Now, on subscriber screen you will see “Hello data”
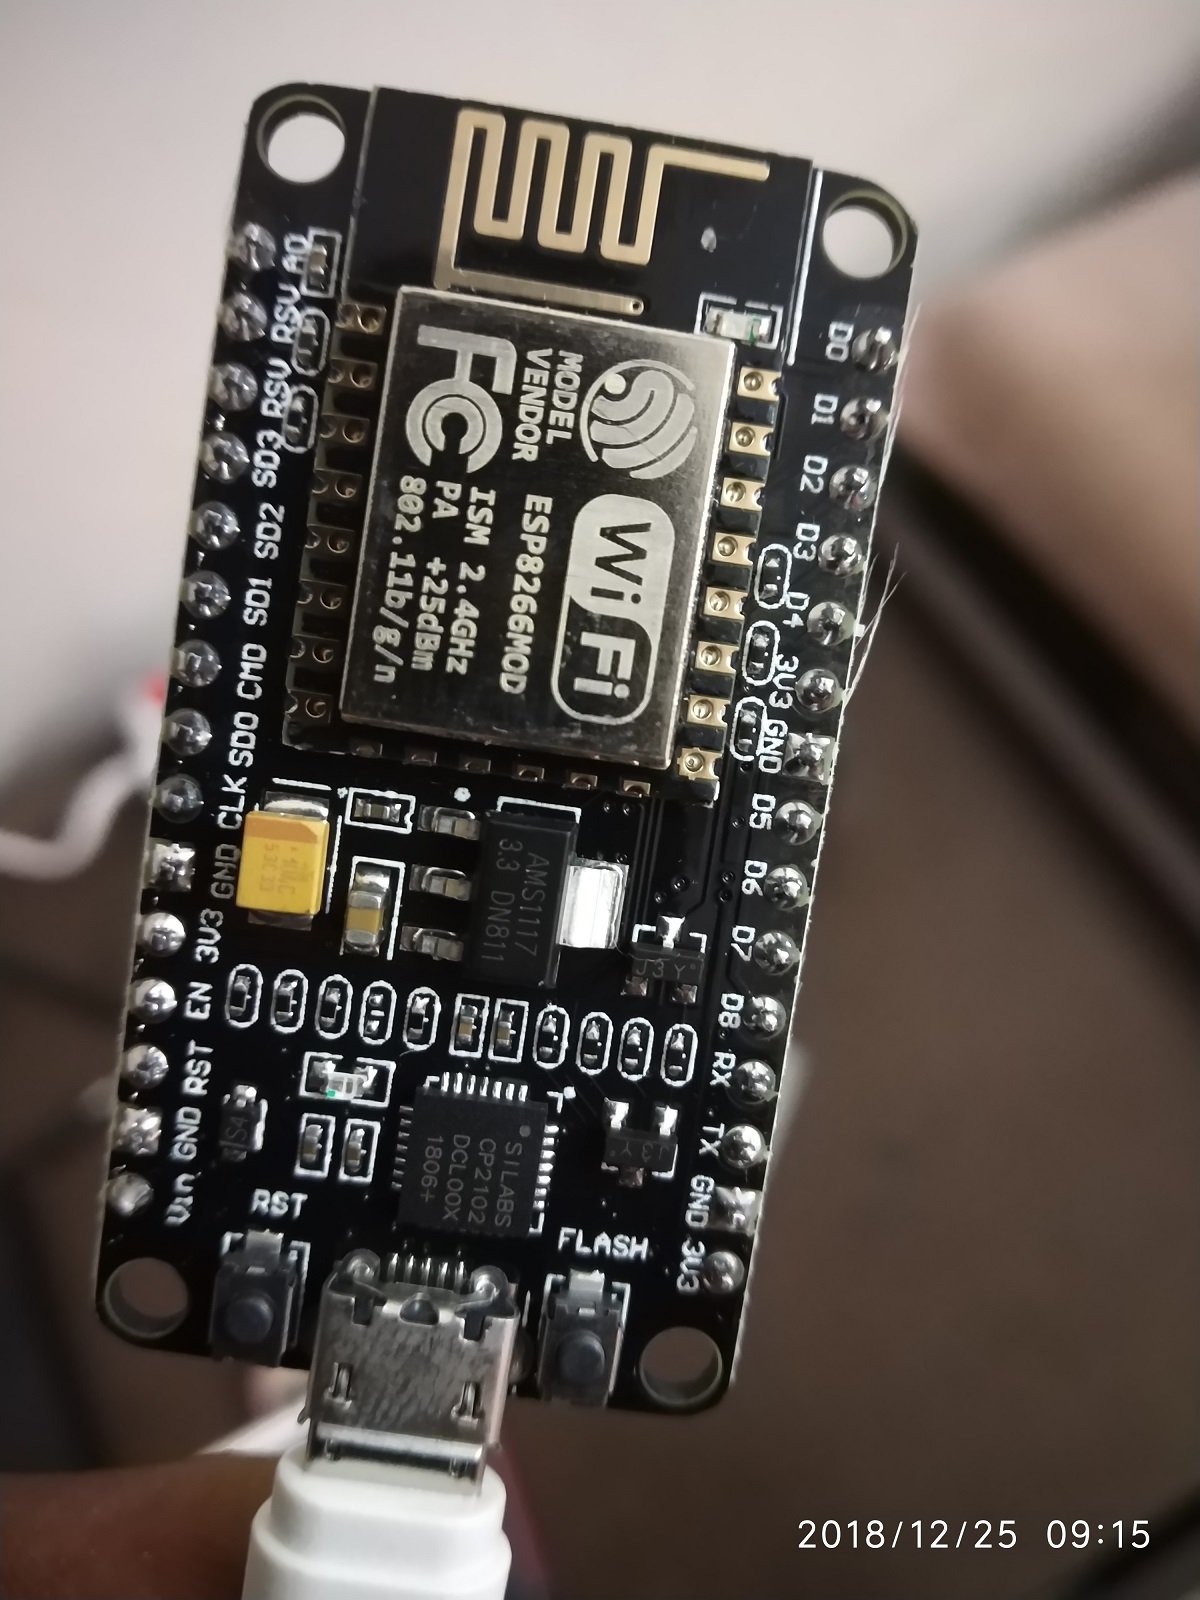
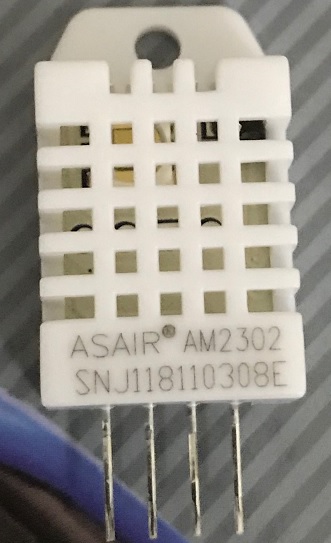
I have bought a nodemcu board and DHT22 weather sensor to build a small IoT project. I will publish details of it after completion.