
After performing some stand alone tests with my DHT22 weather sensor on NodeMCU board and MQTT broker on raspberry, I thought to publish weather data on my home MQTT network.
To do this I took part of code in examples of Adafruit sensor and MQTT libraries.
To start you will need following three libraries installed in Arduino IDE.
1) Adafruit unified sensor
2) DHT sensor library
3) Adafruit MQTT library
My MQTT broker accepts subscription and publishing request only from authenticated clients. Refer “MQTT protocol – Telemetry for IoT” to setup MQTT broker with authentication.
In this setup I will publish temperature and humidity as “weather/kurukshetra” topic. MQTT clients subscribed to this subject will receive weather update from NodeMCU via MQTT broker on raspberry.
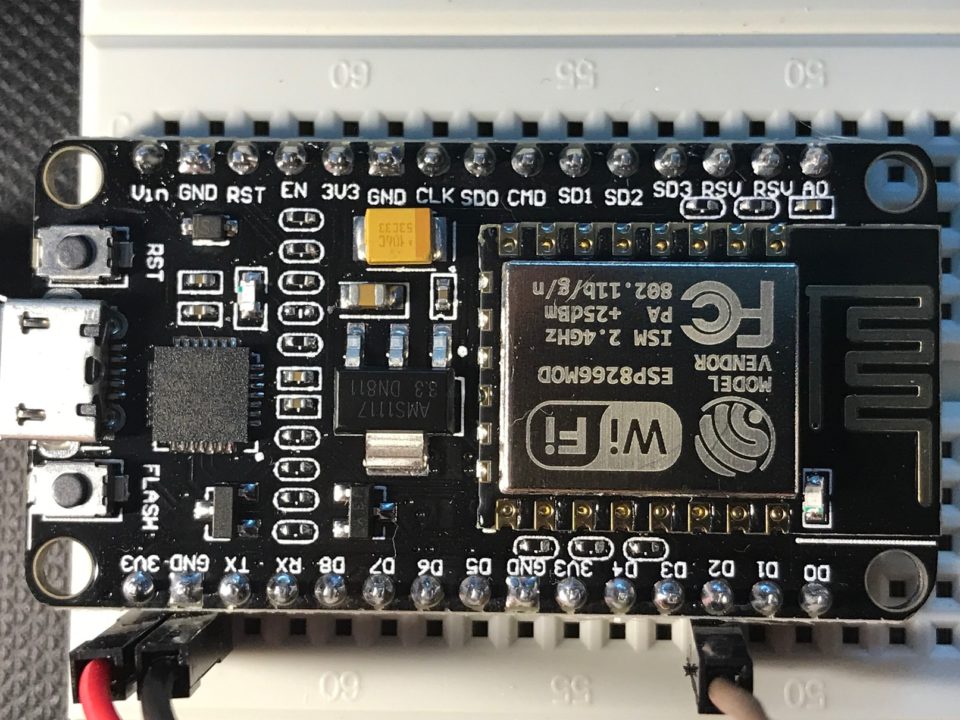
Let us find out how to connect NodeMCU and DHT22.
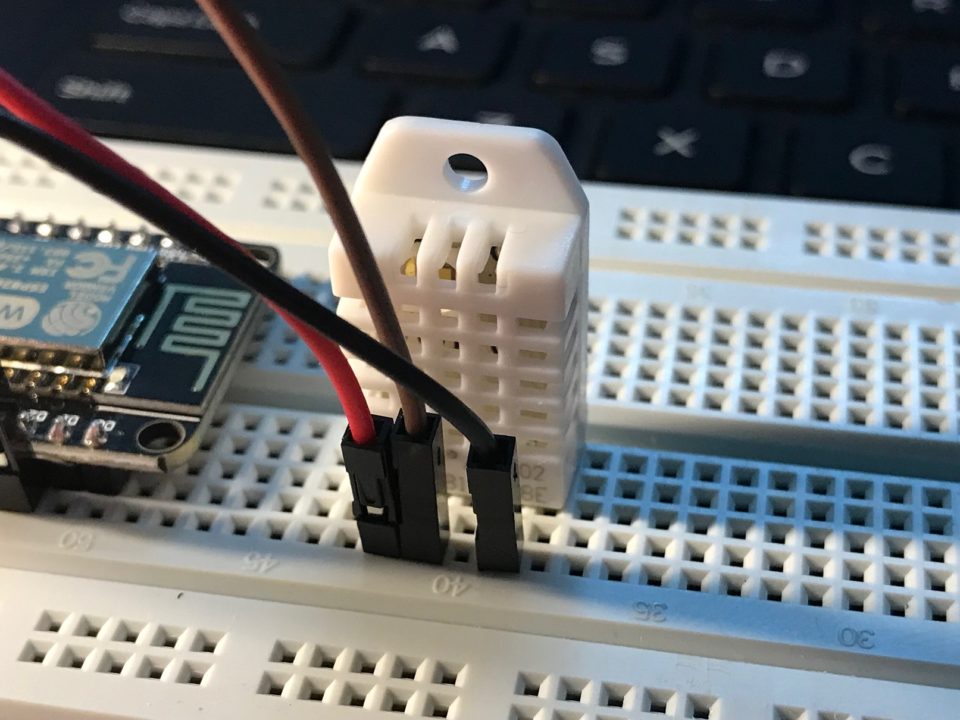
1) First pin of DHT22 is power supply, connect it to 3.3V pin on NodeMCU board.
2) Fourth pin of DHT22 is ground, connect it to ground on NodeMCU board.
3) Second pin of DHT22 is for data, connect it to D2 pin on NodeMCU board.
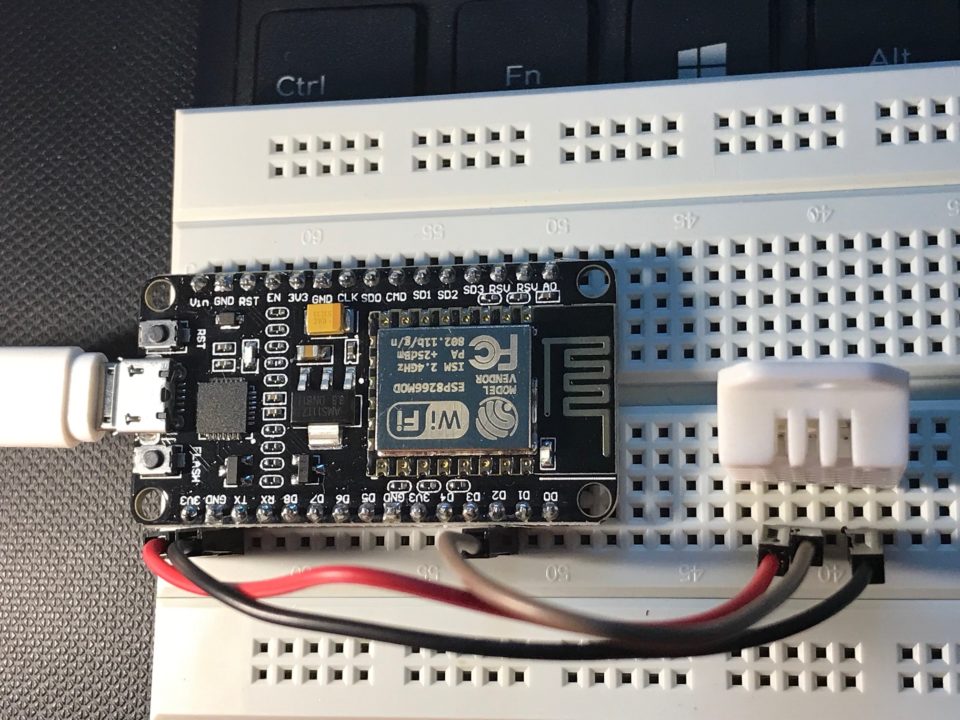
Close up of DHT22 and NodeMCU
Here is the code that reads the temperature and humidity from sensor and writes it on serial port and publishes it on MQTT network.
#include "ESP8266WiFi.h"
#include "Adafruit_MQTT.h"
#include "Adafruit_MQTT_Client.h"
#include "DHT.h"

/********** Weather data at D2 pin on nodemcu **************/
#define DHTPIN 4     // This is D2 pin on NodeMCU
#define DHTTYPE DHT22   // there are multiple kinds of DHT sensors
#define hour 3600000

DHT dht(DHTPIN, DHTTYPE);

/******* WiFi Access Point ***********/

#define WLAN_SSID       "wifi_ssid"
#define WLAN_PASS       "wifi_password"

/******** Adafruit.io Setup ********/

#define MQTT_SERVER      "mqtt broker"
#define MQTT_SERVERPORT  1883                   // default port of MQTT broker
#define MQTT_USERNAME    "mqtt broker username"
#define MQTT_KEY         "mqtt broker password"

/************ Global State **********/

// Create an ESP8266 WiFiClient class to connect to the MQTT server.
WiFiClient client;
// or... use WiFiFlientSecure for SSL
//WiFiClientSecure client;

// Setup the MQTT client class by passing in the WiFi client and MQTT server and login details.
Adafruit_MQTT_Client mqtt(&client, MQTT_SERVER, MQTT_SERVERPORT, MQTT_USERNAME, MQTT_KEY);

/************ Feeds ***************/

Adafruit_MQTT_Publish weatherdata = Adafruit_MQTT_Publish(&mqtt, "weatherdata"); //This is the topic/subject to which I am publishing weather data from DHT sensor

/******** Sketch Code ***************/

void MQTT_connect();

void setup() {
  Serial.begin(115200);
  delay(10);

  Serial.println(F("Weather data capture"));

  // Connect to WiFi access point.
  Serial.println(); Serial.println();
  Serial.print("Connecting to ");
  Serial.println(WLAN_SSID);

  WiFi.begin(WLAN_SSID, WLAN_PASS);
  while (WiFi.status() != WL_CONNECTED) {
    delay(500);
    Serial.print(".");
  }
  Serial.println();

  Serial.println("WiFi connected");
  Serial.println("IP address: ");
  Serial.println(WiFi.localIP());
}

String weatherpub;

void loop() {

  MQTT_connect();

  // Read weather data and publish on MQTT broker
    delay(1000);
    float humidity = dht.readHumidity();
    // Read temperature as Celsius (the default)
    float temp = dht.readTemperature();
    // Read temperature as Fahrenheit (isFahrenheit = true)
    //float farh_temp = dht.readTemperature(true);

    // Check if any reads failed and exit early (to try again).
    if (isnan(humidity) || isnan(temp)) {
      Serial.println("Failed to read from DHT sensor!");
      return;
    }
  weatherpub="";
  //weatherpub+=F("\nHumidity: ");
  weatherpub=String(temp,2);
  weatherpub+=F(",");
  weatherpub+=String(humidity,2);
  weatherpub+=F(",kkr");
 // weatherpub+=String(farh_temp,2);

  // write data on serial port and publish on MQTT broker

  Serial.print(F("\nSending weather data "));
  Serial.println(weatherpub);
  Serial.print("...");

    if (! weatherdata.publish(weatherpub.c_str())) { //c_str() is to convert String data to const char*, String datatype is not accepted in publish function
      Serial.println(F("MQTT tranmit Failed"));
    }
    else
    {
      Serial.println(F("MQTT tranmit OK!"));
    }

//delay(3600000);
delay(10);
//Send ESP board to deep sleep for 10 min
ESP.deepSleep(600000000);
//delay(5000);
}

// Function to connect and reconnect as necessary to the MQTT server.
// Should be called in the loop function and it will take care if connecting.
void MQTT_connect() {
  int8_t ret;

  // Stop if already connected.
  if (mqtt.connected()) {
    return;
  }

  Serial.print("Connecting to MQTT... ");

  uint8_t retries = 3;
  while ((ret = mqtt.connect()) != 0) { // connect will return 0 for connected
       Serial.println(mqtt.connectErrorString(ret));
       Serial.println("Retrying MQTT connection in 5 seconds...");
       mqtt.disconnect();
       delay(5000);  // wait 5 seconds
       retries--;
       if (retries == 0) {
         // basically die and wait for WDT to reset me
         while (1);
       }
  }
  Serial.println("MQTT Connected!");
}
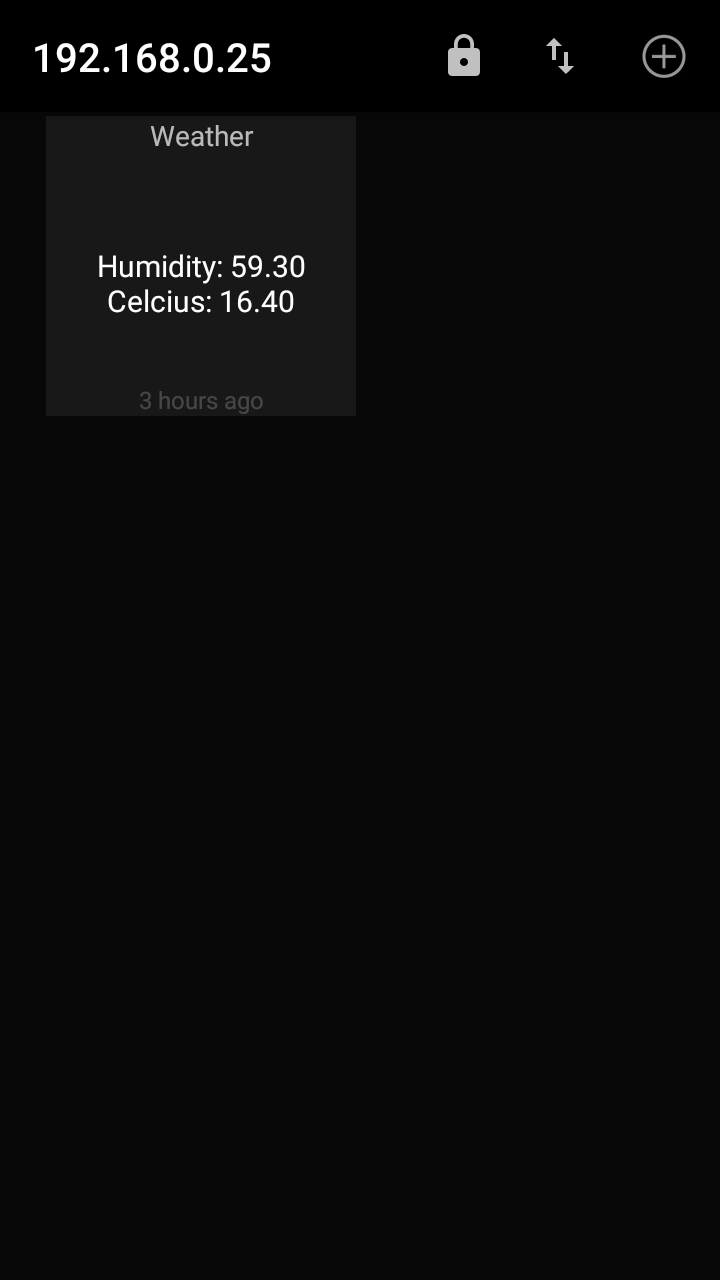
Data published by NodeMCU MQTT client can be read on any subscriber connected to same MQTT broker on home WiFi network or even internet (if you have enabled DDNS and 1883/tcp port forwading on home router).
One such MQTT client for mobiles is MQTT dash. Here is the snapshot of weather data read in MQTT dash.
Total cost on this weather station is less than 1000₹ including NodeMCU board (370₹), DHT22 sensor (300₹) and 5V power adaptor (200₹).