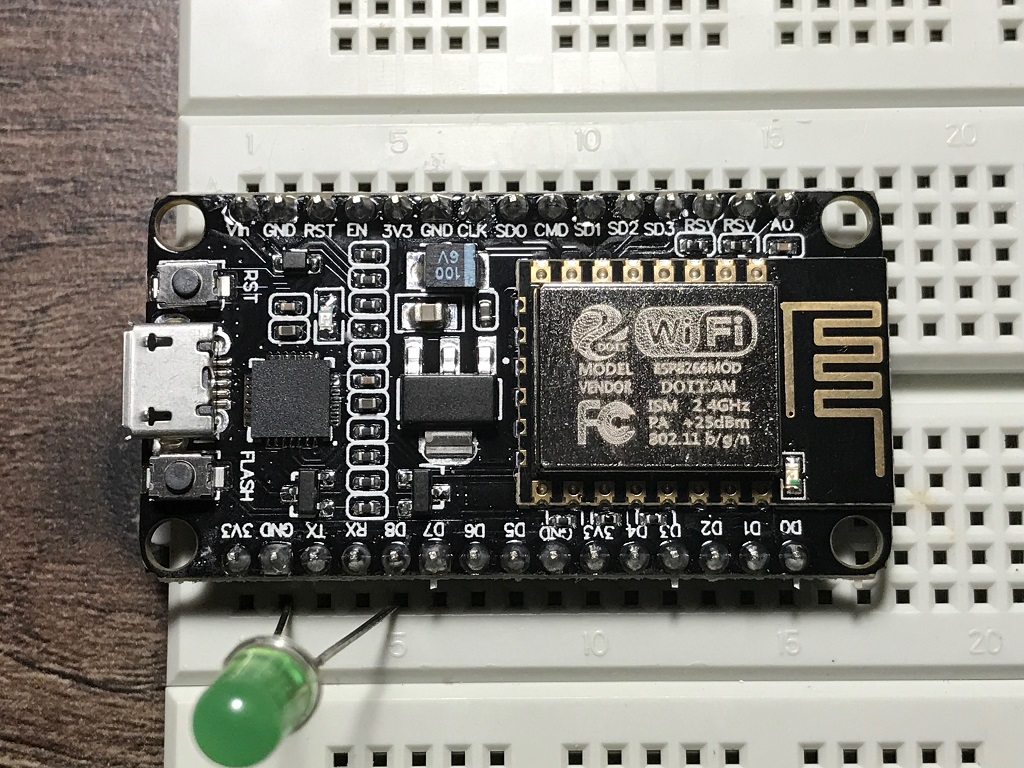
NodeMCU board is based on ESP8266 wifi chip. It is an affordable board for IoT, robotics and other embedded programming projects.
So far I have used NodeMCU with Arduino to build IoT relays, IoT doorbell and program a number of sensors.
NodeMCU and micropython together make embedded programming really simple and easy.
To start with, you have to install esptool (firmware flasher) and thonny (python IDE).
pip3 install esptool

aptitude install thonny
Then download micropython firmware image for ESP8266 based boards from http://micropython.org/download
wget -c "http://micropython.org/resources/firmware/esp8266-20190529-v1.11.bin"Then using esptool erase existing firmware from board, do change USB port reference in following command according to the port your board is connected to.
esptool.py --port /dev/ttyUSB0 erase_flashNow flash the micropython firmware image on board. Adjust baud rate if you face problems. I used 115200 rate while working on NodeMCU on Arduino. So using same value here.
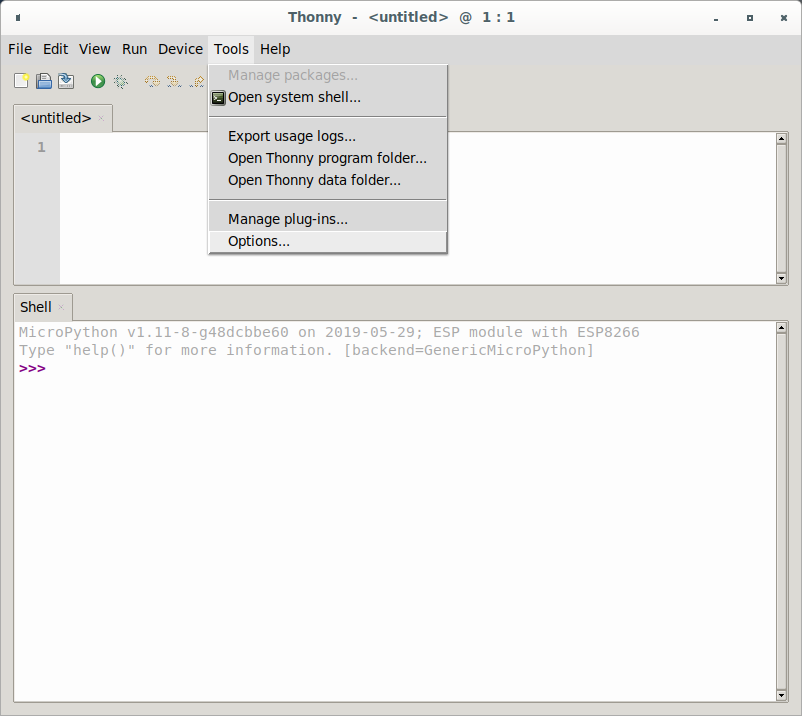
esptool.py --port /dev/ttyUSB0 --baud 115200 write_flash --flash_size=detect 0 esp8266-20190529-v1.11.binOnce image is flashed then, launch thonny as sudo and follow these screens to get to REPL of micropython on board.
Go to options
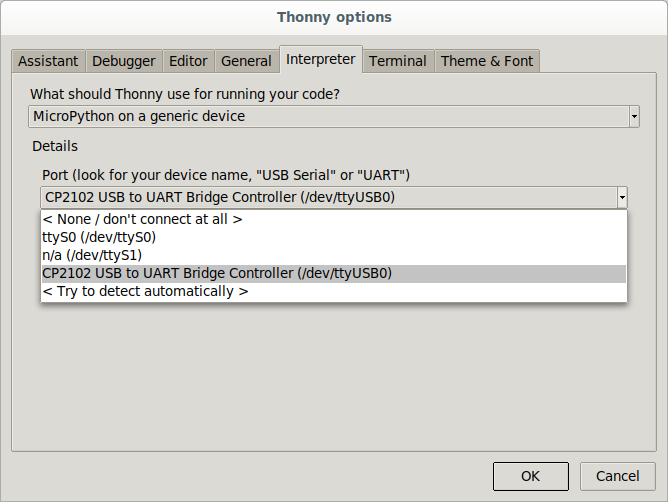
On interpreter tab select “MicroPython on a generic device”
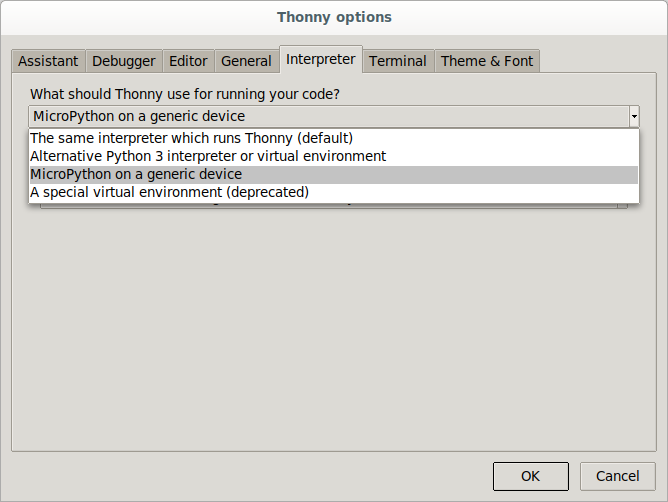
Select port or leave it as auto detect
You can now test flashed micropython with simply glowing up LED connected on ping GPIO 15 (D8 on board). See complete mapping of pins in following diagram.

#On interpreter in thonny IDE do following
from machine import Pin

#Use GPIO pin 15, ie D8 in output mode
led = Pin(15, Pin.OUT)

#Turn on LED
led.value(1) 
Related Posts